

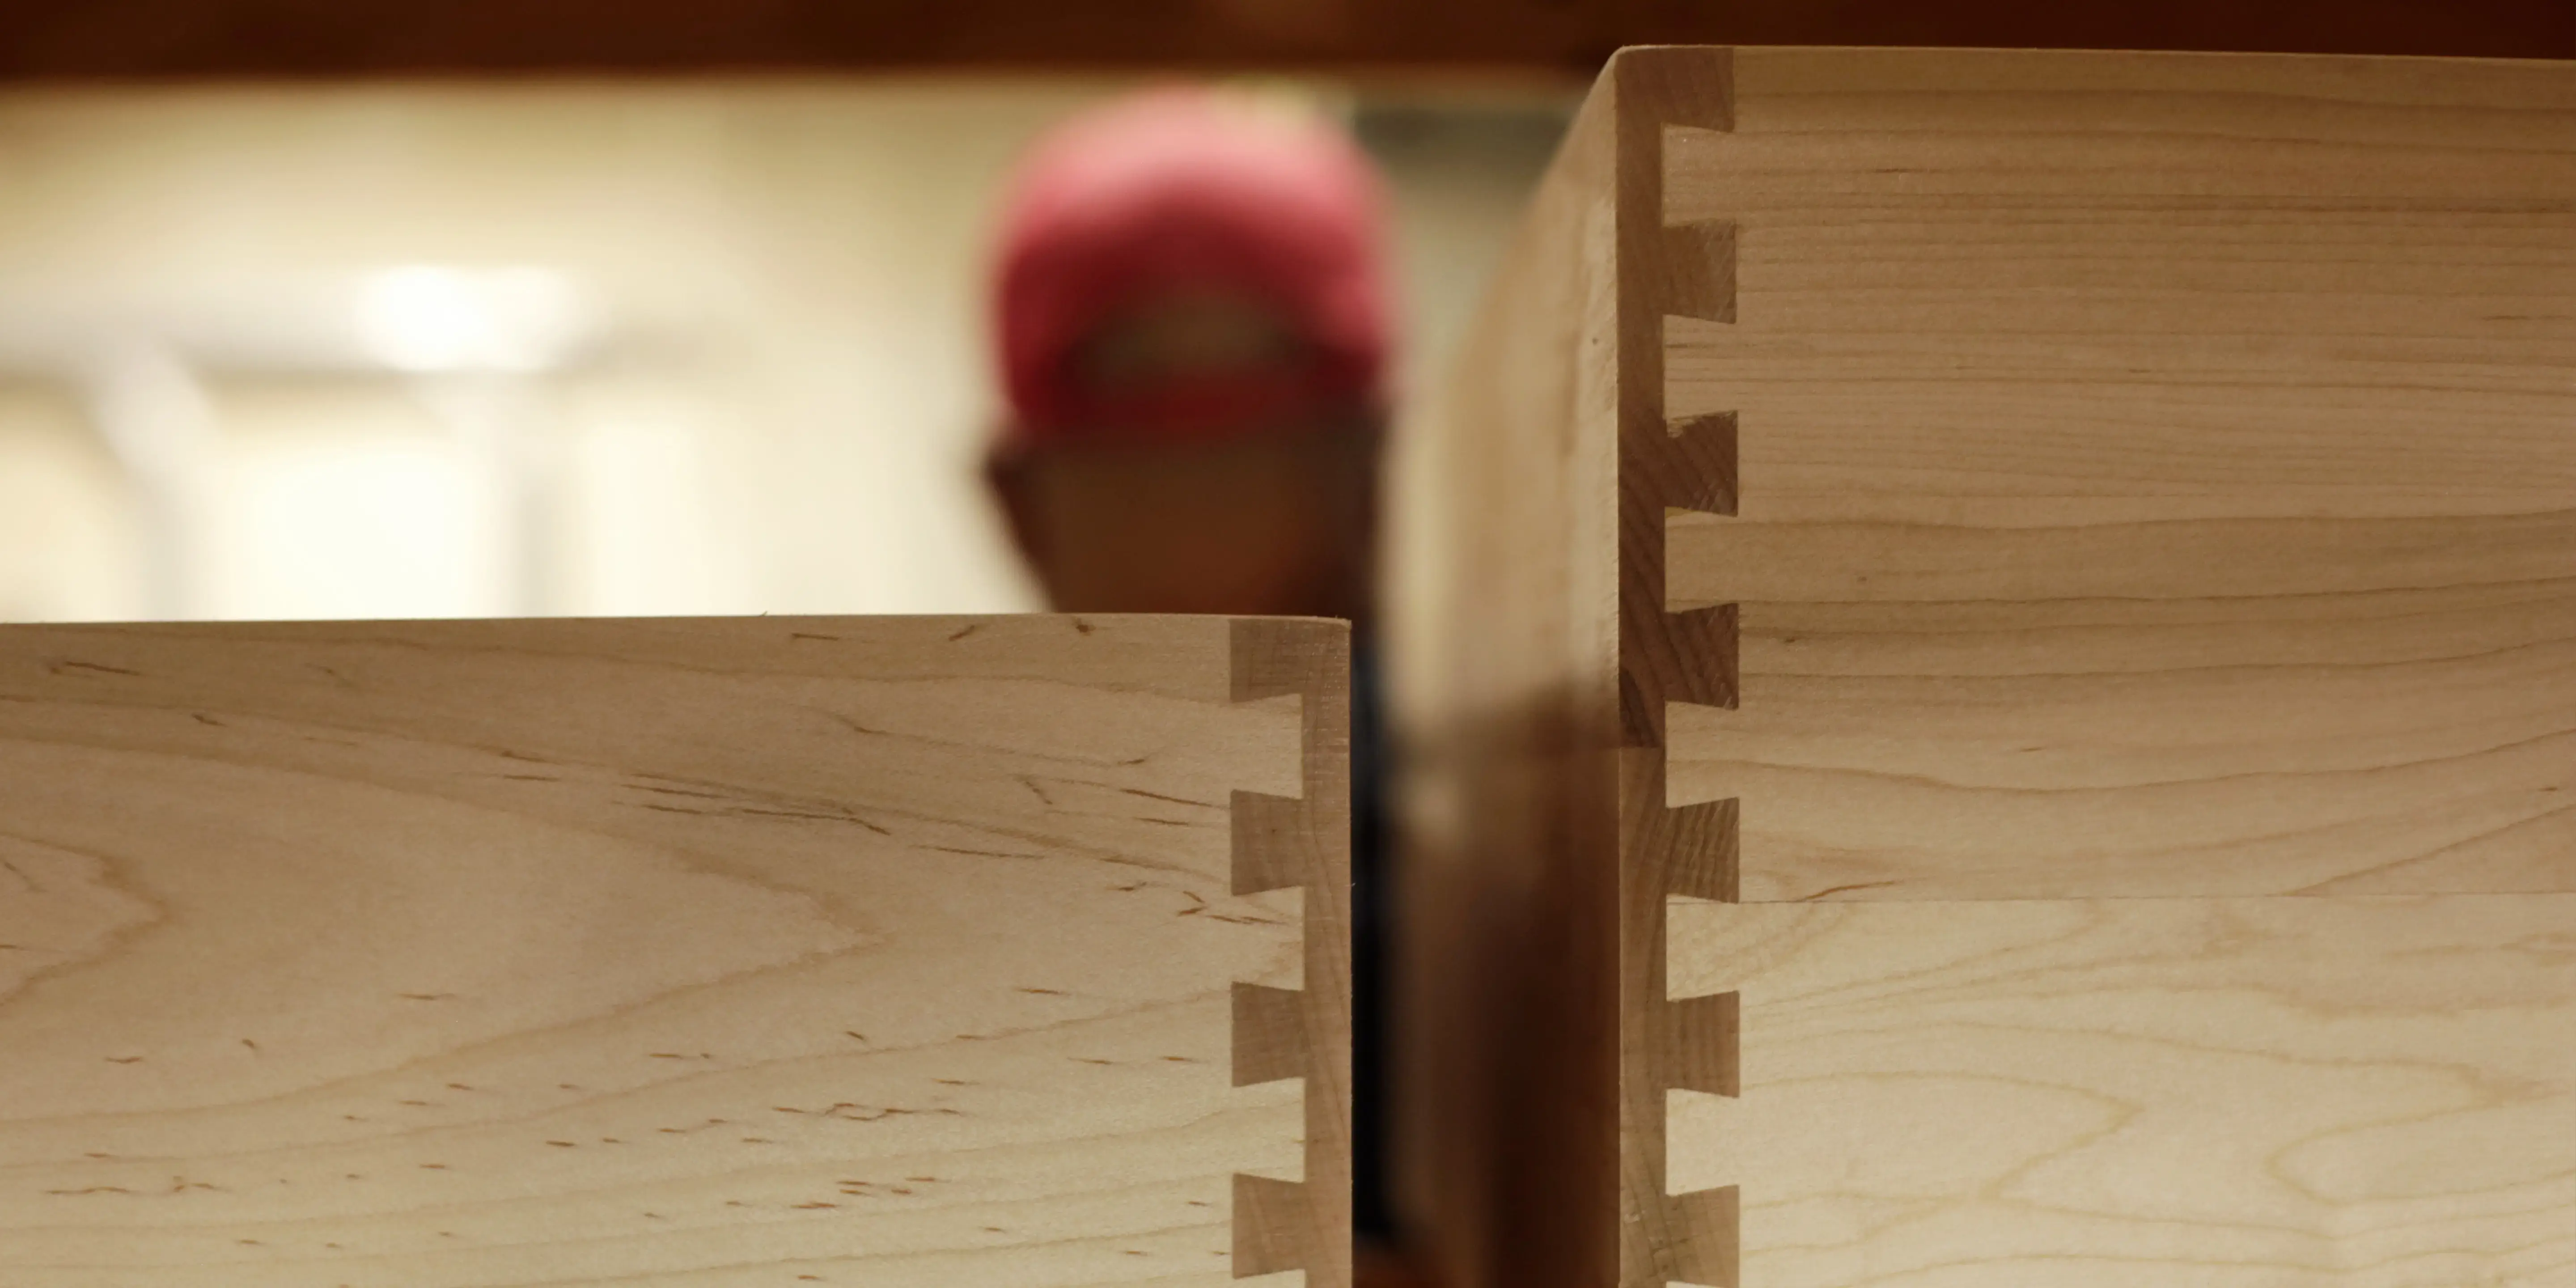
Opening a drawer puts force on the front corners, where the front connects to the sides. Dovetail drawer construction addresses that force with interlocking pins and tails cut into separate front, back, and side pieces before assembly. The shape of the joint helps keep those pieces together as the front is pulled. From that corner, the full construction continues through stock selection, a half-blind joint, hand assembly, bottom placement, sanding, and finish. Each stage leaves details you can inspect in the completed box.
In this article:
- What dovetail drawer construction means
- How pins and tails hold the drawer front and sides together
- Expert Eagle Insight
- How Eagle builds a half-blind dovetail drawer box
- How drawer height changes the stock construction
- What to inspect in a finished dovetail drawer box
- Where dovetail fits among other drawer-box methods
- Order dovetail drawers with the construction settled
- Frequently asked questions
What dovetail drawer construction means
A drawer box begins as four separate pieces: a front, a back, and two sides. At each corner, one piece has wedge-shaped tails and the mating piece has matching pins. The tails fan outward at their ends, which gives the joint its name. Once the pieces come together, the wider ends of the tails lock against the pins when force tries to pull the corner apart.
That joint is only one part of dovetail drawer construction. The complete box also includes its bottom, selected stock, assembled corners, final dimensions, sanded edges, and specified finish. Pins and tails describe the vertical corner connection. The plywood bottom enters the construction separately through its recessed groove. The front used in this construction is the structural drawer-box front. A decorative cabinet drawer front is a separate component attached to the box, so the visible face in the room and the box piece carrying the corner joint serve different functions.
How pins and tails hold the drawer front and sides together
The load path begins when you pull the drawer front. That force reaches both front corners and continues into the sides. At each joint, several flared tails meet matching pins across a series of angled faces. Pulling the front away from a side brings the wider ends of the tails against the pins, so the joint geometry resists separation along the direction of the pull across the corner.
Eagle uses half-blind English dovetails only. In this construction, the interlocking pattern is visible from the side of the drawer box while the exterior face of the structural front stays clean. The side view lets you trace how each tail meets its pins along the box corner.
Through dovetails carry the pattern through the mating piece, and sliding dovetails use a tail-shaped section that travels along a matching groove. Those terms describe different joint forms; Eagle does not offer either one. This article stays with the half-blind joint and the rest of the box built around it. For the separate question of how this construction compares with a standard box, see dovetail drawers versus standard drawer boxes.
Expert Eagle Insight
Here at Eagle, one of the most common things we see on drawer orders is a height dimension that unintentionally forces an oversized top dovetail. Our dovetails are CNC-cut on a fixed spacing, and that spacing works out so that when a drawer height falls between the quarter-inch mark and the three-quarter-inch mark - say, anywhere between 4-1/4" and 4-3/4" - the machine has to absorb the extra material in the top dovetail, leaving it visibly larger than the rest of the row. The box is every bit as strong, but the joint pattern on the side isn't symmetrical, and to a trained eye it reads as slightly off.
The fix costs you nothing: drop the height back to the quarter-inch mark (4-1/2" becomes 4-1/4"), and every dovetail on the side comes out fully symmetrical. Because the drawer front is applied over the box, that quarter inch never shows from the front of the cabinet - the exterior view is identical. It's a small spec decision most shops don't know to make, and it's the difference between a drawer that looks CNC-batched and one that looks deliberately built.
How Eagle builds a half-blind dovetail drawer box
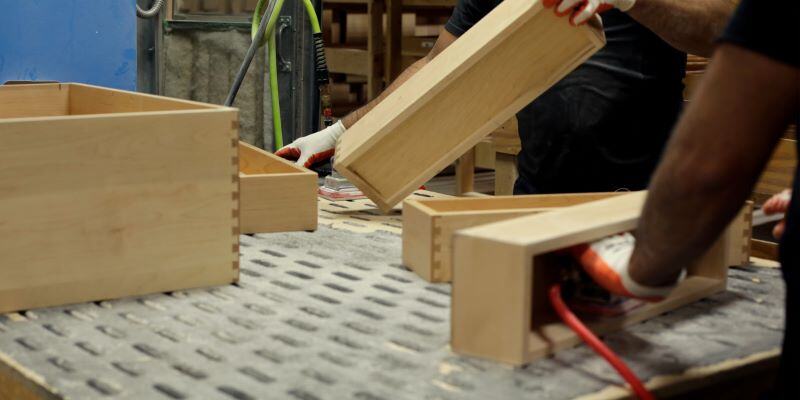
The joint works as part of a sequence that turns prepared pieces into a completed drawer box.
- Select stock for the visible surfaces. We use clear stock, free of blemishes or defects, on the two sides. A finished or exposed box front also receives clear stock when ordered. Front and back pieces that normally remain concealed may use non-clear stock.
- Cut the half-blind joinery. CNC equipment cuts the matching pins and tails into the mating pieces. This establishes the interlocking geometry before assembly.
- Assemble the drawer box. Each box is assembled by hand after its joint pieces have been cut.
- Seat the bottom. The standard cabinet-grade plywood bottom sits in a groove recessed 1/2 inch from the lower edge of the sides. The completed box should keep the bottom continuously seated in that groove.
- Sand and finish the assembled box. The sides pass through a side-sanding belt. The top receives two rounds of hand sanding so the front, back, and sides meet at a flush top edge. We apply two coats of clear pre-catalyzed ML Campbell lacquer by hand, then add the final edge break after finishing. Standard boxes have finished sides and unfinished front and back pieces because those faces normally remain concealed. Unfinished boxes are available on request, and an exposed box front can receive the specified visible treatment.
Together, these stages connect repeatable joint cutting with hand assembly, a grooved bottom, flush top edges, and prepared visible surfaces. That sequence brings the corner joint and the rest of the finished box together.
How drawer height changes the stock construction
Drawer height affects how each front, back, and side piece is formed before the pins and tails are cut. Pieces below 6 inches use one solid board. Pieces above 6 inches use edge-glued boards for strength and stability, with every board in the glue-up measuring at least 2 inches wide. The same height rule applies to the front and back pieces as well as the sides.
The joined boards form a single piece for the later cutting and assembly stages. This keeps the height-dependent stock decision upstream of the corner joinery: first the side, front, or back piece is constructed, then its matching pins or tails are cut.
What to inspect in a finished dovetail drawer box
Start at the corners, where the joint shows most clearly. The pins and tails should be fully seated, with no obvious open gaps between the mating faces. Follow the top edge across each corner. The front, back, and sides should meet flush after sanding, without a step where two pieces come together.
Then compare the completed box with its ordered outside dimensions. The box should match those dimensions within the stated tolerance. Look inside the box and follow the bottom around its full perimeter. It should remain continuously seated in the groove. Check the full length, including both front and back corners.
Finish with the surfaces that will remain visible. The sides should use clean stock and show consistent surface preparation. If the order called for a finished or exposed box front, that structural front should have the intended visible treatment. A standard concealed front and back often receive some finish application but are not sanded smooth, while the sides receive the standard finish and sanding.
These checks stay focused on the completed construction: closed corner joints, flush top edges, controlled dimensions, a seated bottom, and surfaces that match their intended exposure.
Where dovetail fits among other drawer-box methods
Drawer boxes can also use stapled or butt-joint construction, rabbet-and-dado joinery, or lock-joint corners. Each method creates the corner differently. The differences extend beyond the shape visible at one corner of the finished box. Eagle's process carries a half-blind joint through the rest of a completed box.
A broader selection decision considers durability, cost, and the customer's expectations for the finished cabinet. That decision is specific to the job. The full comparison belongs in a review of the available methods. If you are deciding which approach fits a job, start with choosing a drawer-box construction method.
Order dovetail drawers with the construction settled
At the front corner, pins and tails resist the opening force that tries to separate the front from the sides. The complete drawer box carries that joint through selected stock, CNC cutting, hand assembly, a bottom seated in its groove, flush sanding, and the specified finish. Once the construction is clear, the practical next step is to specify the exact box required for the job. Eagle builds custom dovetail drawer boxes built to your specifications.
Frequently asked questions
What is dovetail drawer construction?
Dovetail drawer construction joins separate front, back, and side pieces with interlocking corner joints. Wedge-shaped tails on one piece fit between matching pins on the other. Their wider ends lock against the pins when pulling force reaches the corner. The completed box also includes its bottom, assembled dimensions, sanded edges, and specified finish.
How are dovetail drawers made?
At Eagle, stock is selected for the front, back, and sides before CNC equipment cuts the matching half-blind pins and tails. Each box is assembled by hand around a cabinet-grade plywood bottom seated in a recessed groove. The assembled box is side-sanded, hand-sanded to a flush top edge, and finished with two hand-applied coats of clear pre-catalyzed ML Campbell lacquer unless ordered unfinished.
What is a half-blind English dovetail?
A half-blind English dovetail is a corner joint whose interlocking pins and tails remain visible from the side while the exterior face of the drawer-box front stays clean. Eagle uses this dovetail form exclusively.
Are dovetail drawer sides made from one solid board?
Pieces below 6 inches use one solid board. Pieces above 6 inches use edge-glued boards for strength and stability, and each board in the glue-up is at least 2 inches wide.
What should a finished dovetail joint look like?
The pins and tails should sit fully together without obvious open gaps between their mating faces. The top edges of the front, back, and sides should also meet flush after sanding.